Google Sites is an easy-to-use website-building application that lets any NCSSM faculty and staff build and host a website. With Google Sites, teams can quickly gather a variety of information in one place and easily share it for viewing or editing with a small group, an entire organization, or the world. As a Google Workspace user, you can use Google Sites to set up internal project sites, course websites or intranet sites.
| Table of Contents |
|---|
Create a Google Site
Whenever you're signed in to your Google Drive or Gmail account, click the App Launcher icon at the top right of the page and select Sites to access your sites list.
Either select Blank under Start a new site or select a template from the Template Gallery to create a new Google site. Note: As of August 13, 2020, “new” Googles sites are the default for website creation.
Name your website in the top left corner.


Add a Web page to your Google Site
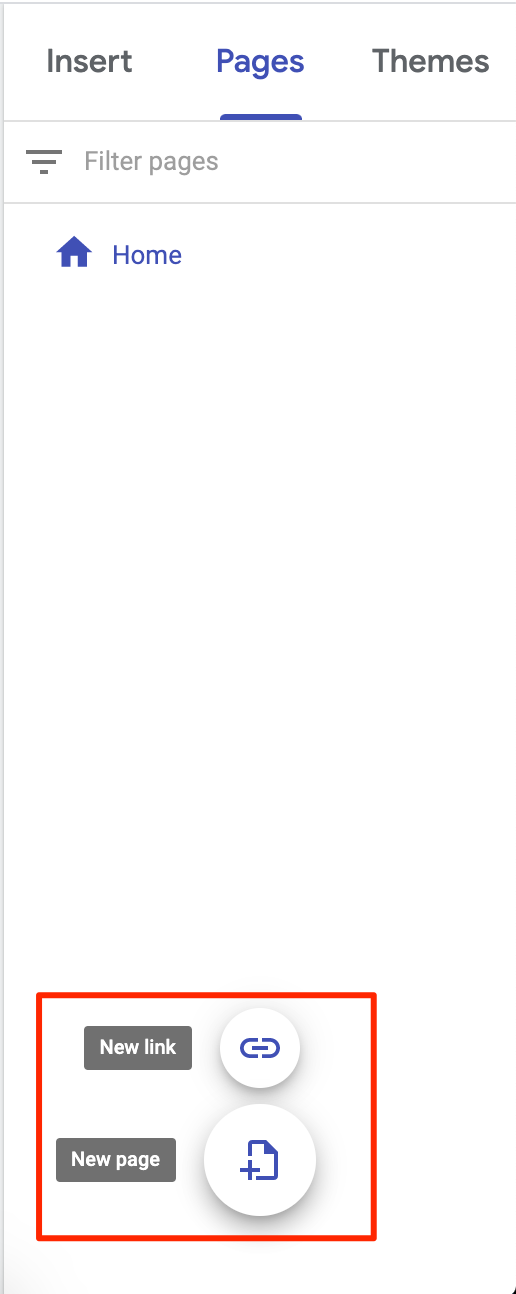
In the right sidebar, select the Pages tab.
Select the New page button.

Enter a name for the page in Name.
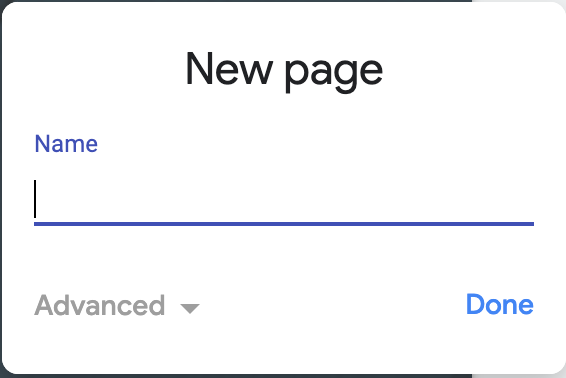
Click Done.
Reorder Navigation
Selectthe Pages tab.
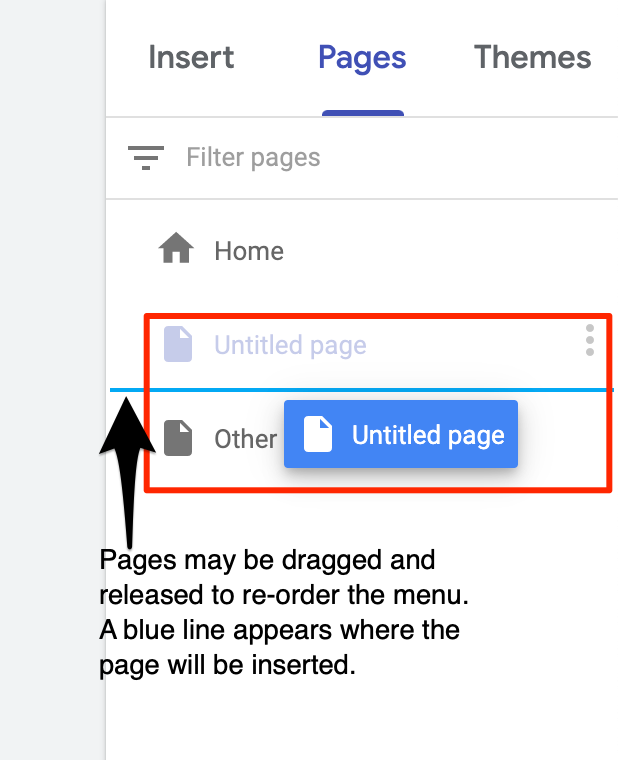
Drag a page up or down in the list to reorder it.

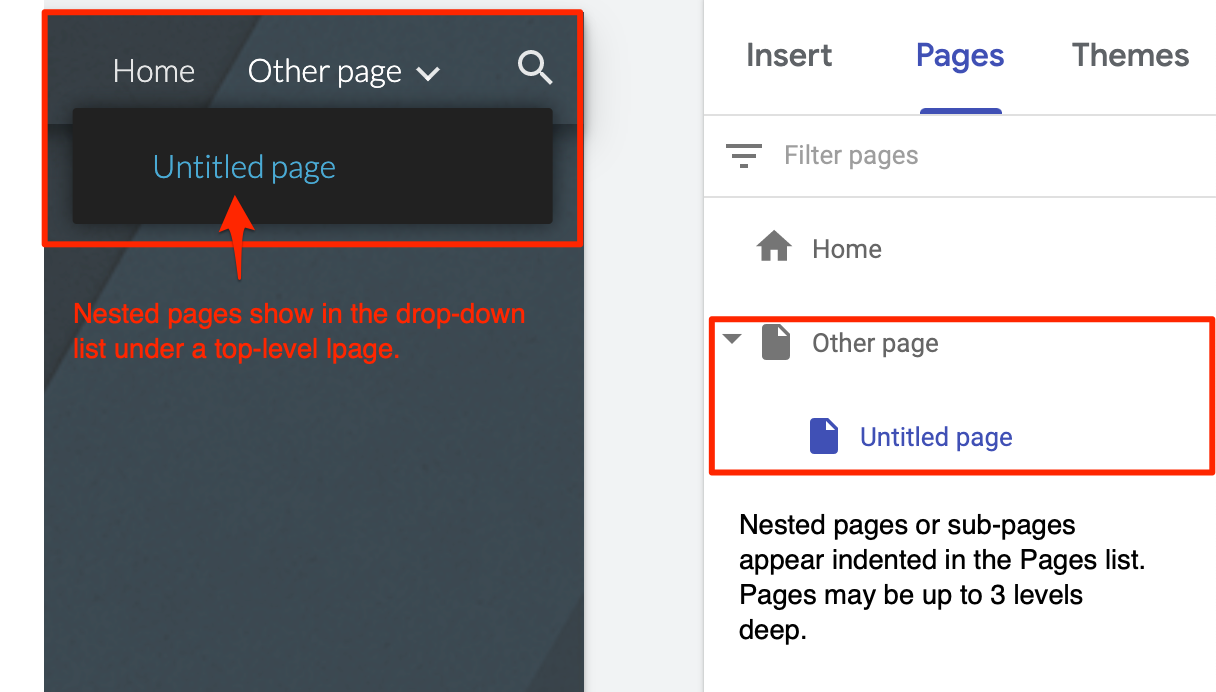
Drag a page on top of another page to nest it.
(Optional) To un-nest a page, drag it to the bottom of the list.
Add Content
On the right, select the page that you want to add content to.
Click Insert. Or, double-click on the page where you want to add content.
Choose the content you want to add:
Text box—Add titles and text.
Images—Upload or add photos and videos from Google Drive.
Embed—Add HTML or social media posts
Drive—Embed any file (other than images) or the contents of a folder (Drive Folder) stored in Drive. If you make changes to your files in Drive, the same changes automatically show in Sites.
Add Text
On the right, select the page that you want to add content to.
Click Insert. Or, double-click on the page where you want to add content.
Click Text box as shown above.
A new text box will appear below the text box of your cursor. See the screenshot below.
Edit Text
To edit text or page titles, just click the box and type. All text boxes can be resized by dragging the handles of the text box.
Add Images
On the right, select the page that you want to add content to.
Click Insert. Or, double-click on the page where you want to add content.
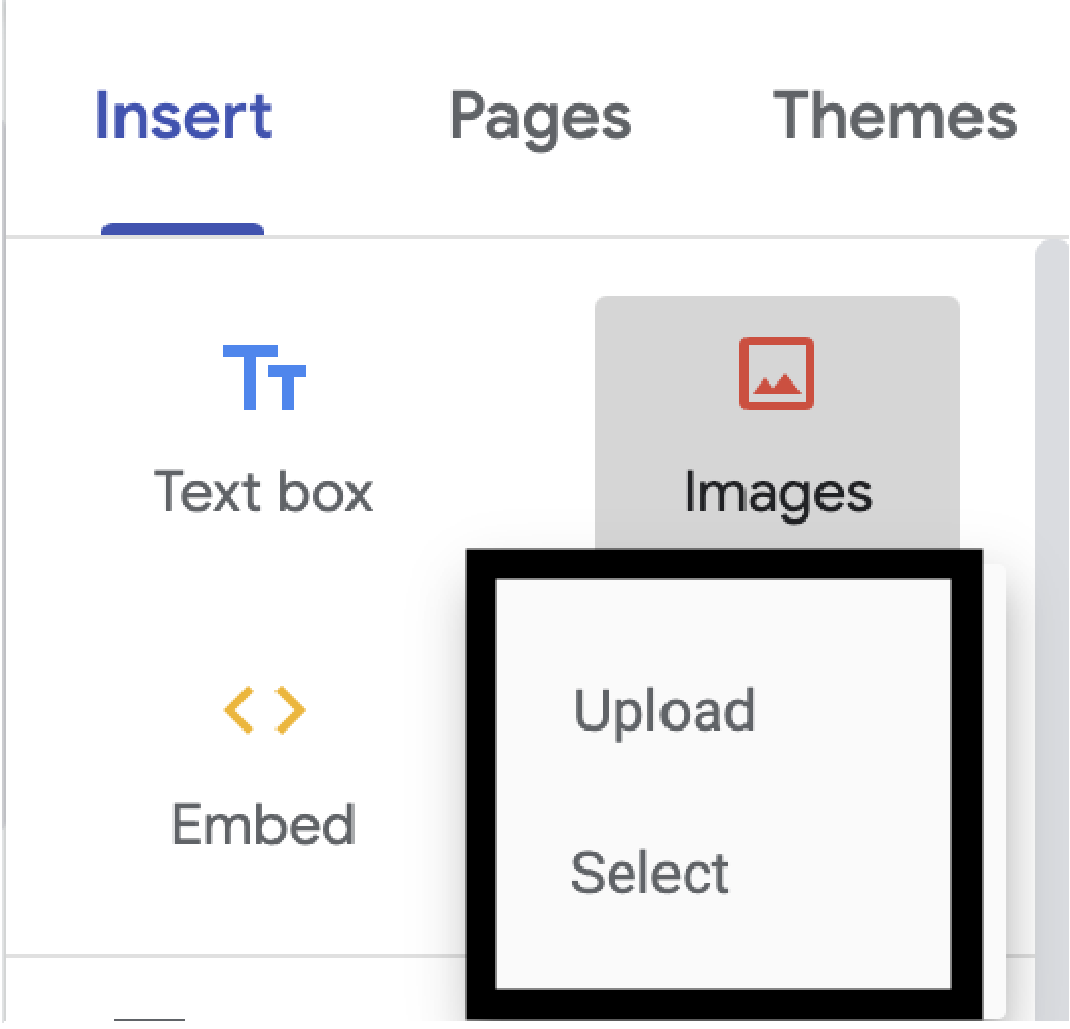
Click Images, then either Upload or Select. Then, do one of the following.
If you selected Upload:Select the image that you want to add from your computer or network share.
If you selected Select: Select the image from your Google Drive folder, Google Photos, Google Image Search, or type the URL of the image from another website. Note: Adding the URL of an image from another website is not recommended unless it is a royalty-free image.
A new image will appear below the text box of your cursor. See the screenshot below.

Edit Images
Resize an image:
Drag the sides or corners of the image. Hold the Shift key to keep the image ratio.
Move an image:
Click anywhere on the image and then drag it to a different part of the section or to a new section. You can place the image wherever you see a highlighted area. Note: Currently, you can’t place an image in a text box.
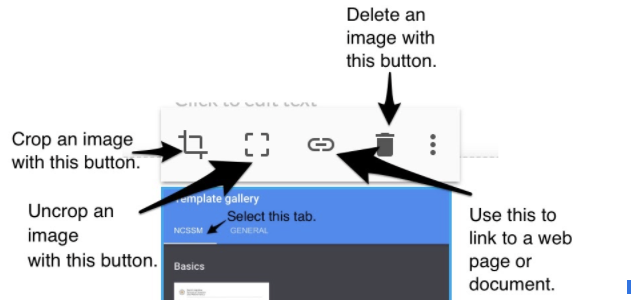
Crop an image:
Select the image and then select Crop.
To zoom in or out, slide the dot.
To change the visible portion, drag the image.
Click Done.
To un-crop an image, click Uncrop.
Replace an image:
Select the image.
Click More > Replace image.
Choose a new image file and click Select.
Add alt text to an image:
Alt text appears when someone hovers over an image on your site.
Select the image and click More.
Select Add alt text and enter a description.
Click Apply.
Related articles
| Filter by label (Content by label) | ||||||||||||||||||
|---|---|---|---|---|---|---|---|---|---|---|---|---|---|---|---|---|---|---|
|
| Page Properties | ||
|---|---|---|
| ||
|