...
Determine whether your system is a 32-bit or a 64-bit system. Click on your start button, right-click on Computer and select Properties. You should see this screen:
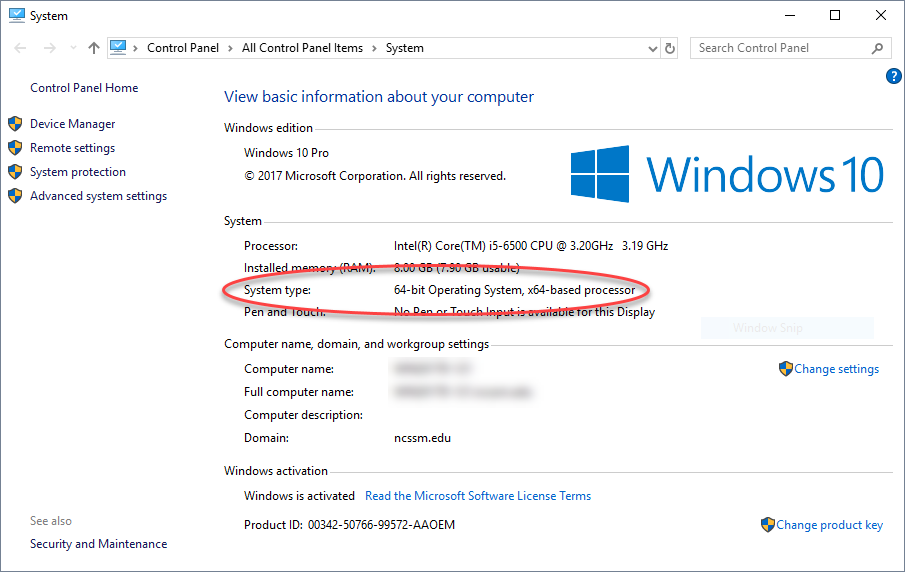
Look for the System type attribute. Its value will indicate whether you have a 32-bit or a 64-bit system.
Download the appropriate client from https://drive.google.com/drive/folders/0B9HXANnxZrYgX3ZvUHc2X0g2U00?resourcekey=0-atfSgedTK_q9Yyue-pLfqw . If you are running a 64-bit operating system, use the file GlobalProtect-Windows-64bit-vXXX.msi (where XXX indicates a version number). If you are instead using a 32-bit operating system, use GlobalProtect-Windows-32bit-vXXX.msi.
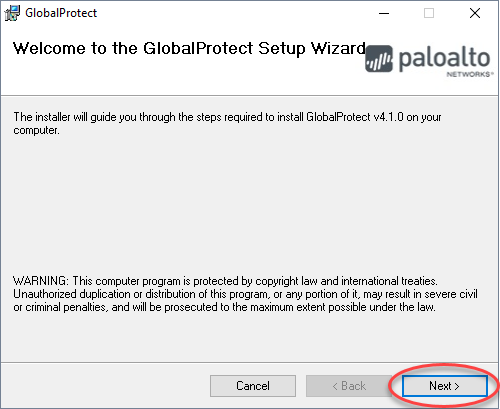
Locate the installer you downloaded in the previous step, and open it to install the application. Click Next on each of the presented screens to proceed with the installation.
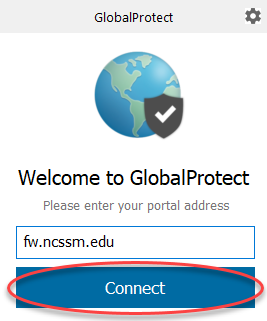
After the installation completes and you click Close, the VPN client will automatically launch, then it will present a window asking for a portal address. Enter dur-fw.ncssm.edu and click Connect.
Enter your NCSSM credentials in Username and Password. (It is not necessary to prepend your username with “NCSSM\” or to include "@ncssm.edu" at the end of the Username.) Leave the Remember Me box checked unless you wish to enter your credentials each time you use the VPN. If you get a certificate warning, accept the certificate.
...
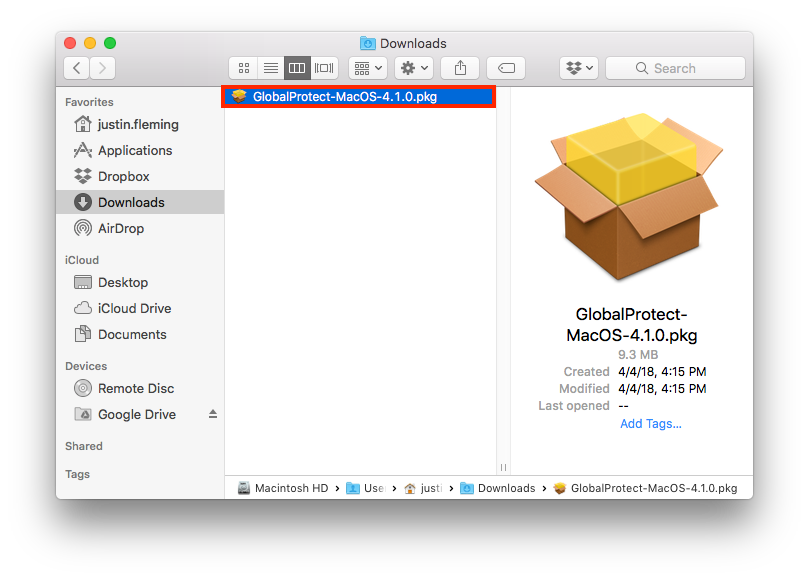
Download the Mac client from https://drive.google.com/drive/folders/0B9HXANnxZrYgX3ZvUHc2X0g2U00?resourcekey=0-atfSgedTK_q9Yyue-pLfqw . The Mac client will have a name like GlobalProtect-MacOS-vXXX.pkg (XXX being the version number).
If you are asked to Download the installation file, do so and, if necessary, note the location where it was saved.
Locate the file you saved in the previous step, and open it to install the application.
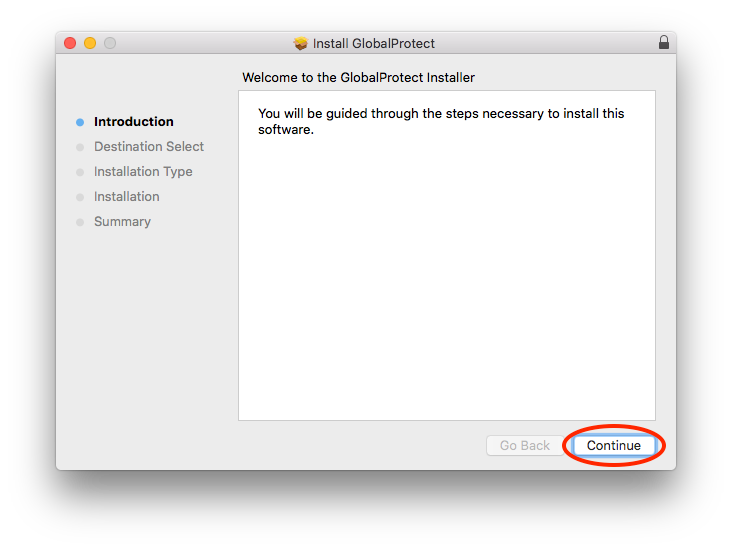
Click Continue to step through the installer.
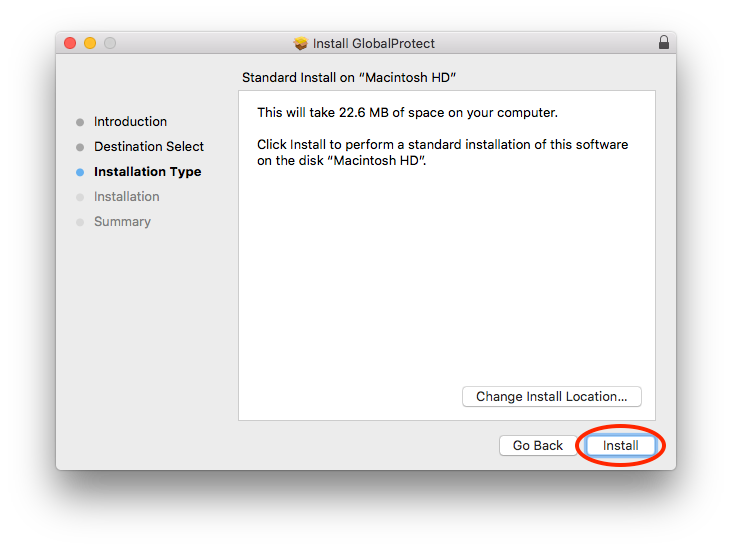
Click Install, providing your username and password on the Mac when prompted.
On macOS Sierra and newer, it is necessary to grant permission to launch to the GlobalProtect application. To do so:
Launch SystemPreferences
Select Security & Privacy > General
If the lock icon in the lower-left is locked, click on it and enter your machine password to unlock the settings
Click Allow next to the message System software from developer "Palo Alto Networks" was blocked from loading.
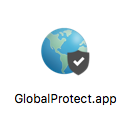
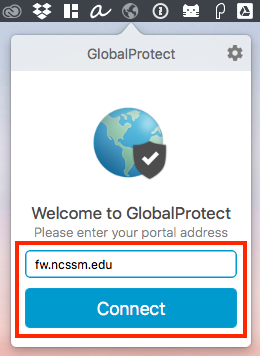
From the Applications folder, open GlobalProtect.app. You can then click the globe icon in the menu bar, type dur- fw.ncssm.edu for the portal address, and then click Connect.
Enter your NCSSM credentials in Username and Password when prompted. (It is not necessary to prepend your username with “NCSSM\” or to include "@ncssm.edu" at the end of the Username.)
(Optional) If you get a certificate warning, accept the certificate.
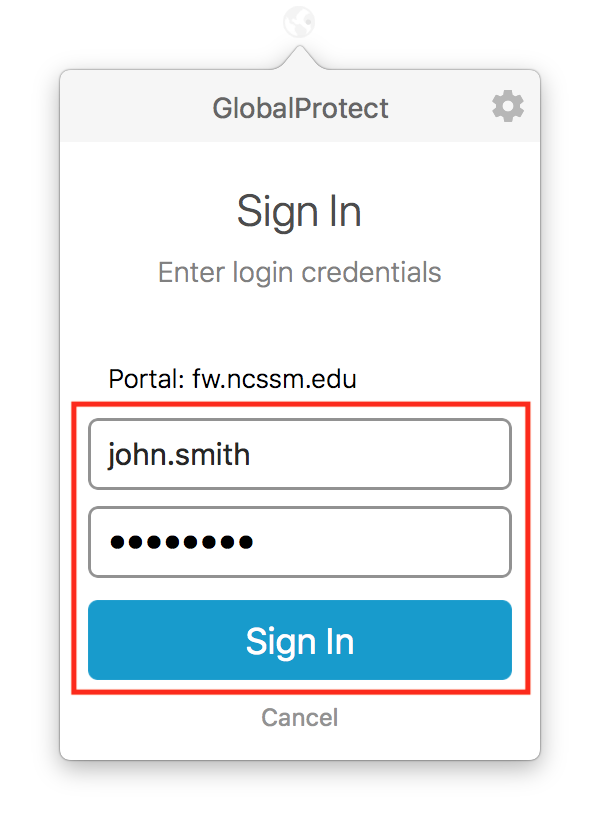
Enter your NCSSM credentials in Username and Password. (It is not necessary to prepend your username with “NCSSM\” or to include "@ncssm.edu" at the end of the Username.) Click Sign In.

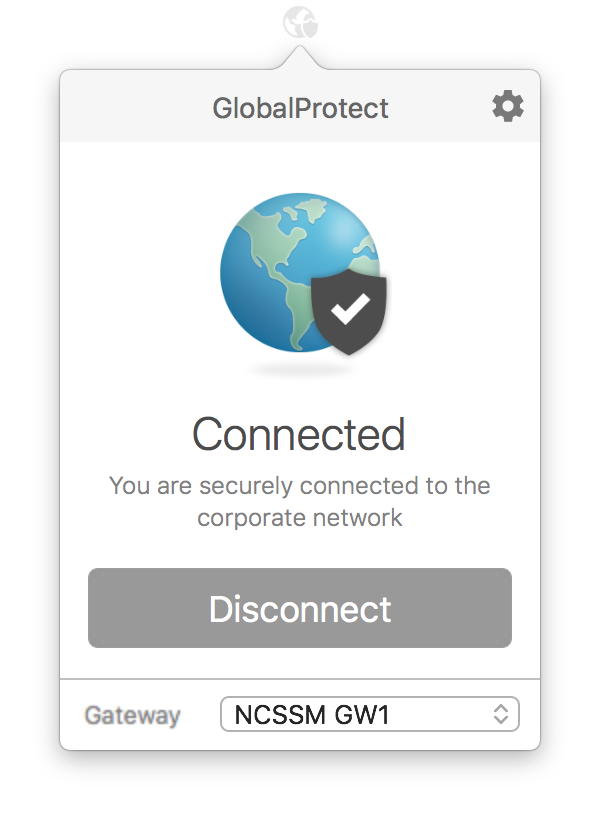
GlobalProtect will say that you are "Connected".

Please create a ticket for ITS if you have any issues installing the client.
...