...
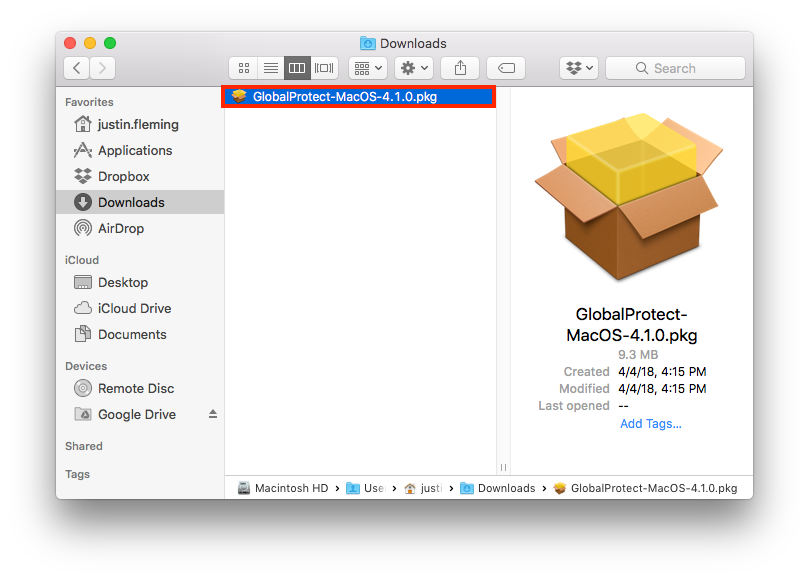
Download the Mac client from https://goo.gl/bnkV2Y. The Mac client will have a name like GlobalProtect-MacOS-vXXX.pkg (XXX being the version number).
If you are asked to Download the installation file, do so and, if necessary, note the location where it was saved.
Locate the file you saved in the previous step, and open it to install the application.
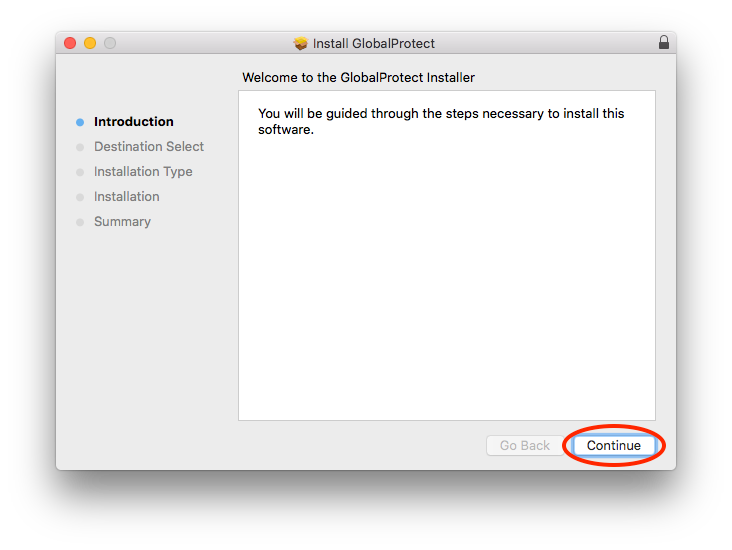
Click Continue to step through the installer.
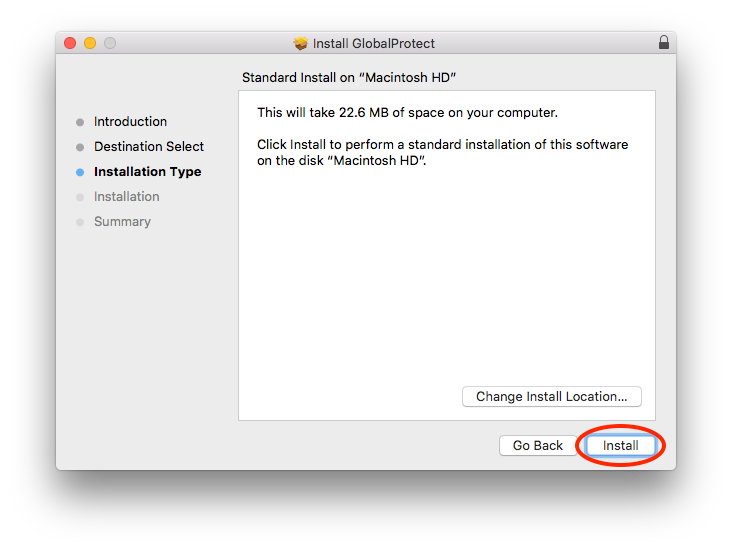
Click Install, providing your username and password on the Mac when prompted.
On macOS Sierra and newer, it is necessary to grant permission to launch to the GlobalProtect application. To do so:
Launch SystemPreferences
Select Security & Privacy > General
If the lock icon in the lower-left is locked, click on it and enter your machine password to unlock the settings
Click Allow next to the message System software from developer "Palo Alto Networks" was blocked from loading.
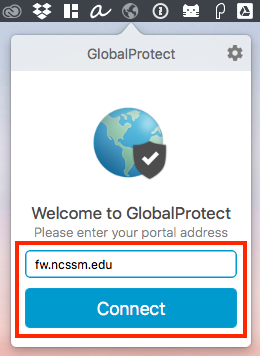
From the Applications folder, open GlobalProtect.app. You can then click the globe icon in the menu bar, type fw.ncssm.edu for the portal address, and then click Connect.


Enter your NCSSM credentials in Username and Password when prompted. (It is not necessary to prepend your username with “NCSSM\” or to include "@ncssm.edu" at the end of the Username.)
(Optional) If you get a certificate warning, accept the certificate.
Enter your NCSSM credentials in Username and Password. (It is not necessary to prepend your username with “NCSSM\” or to include "@ncssm.edu" at the end of the Username.) Click Sign In.
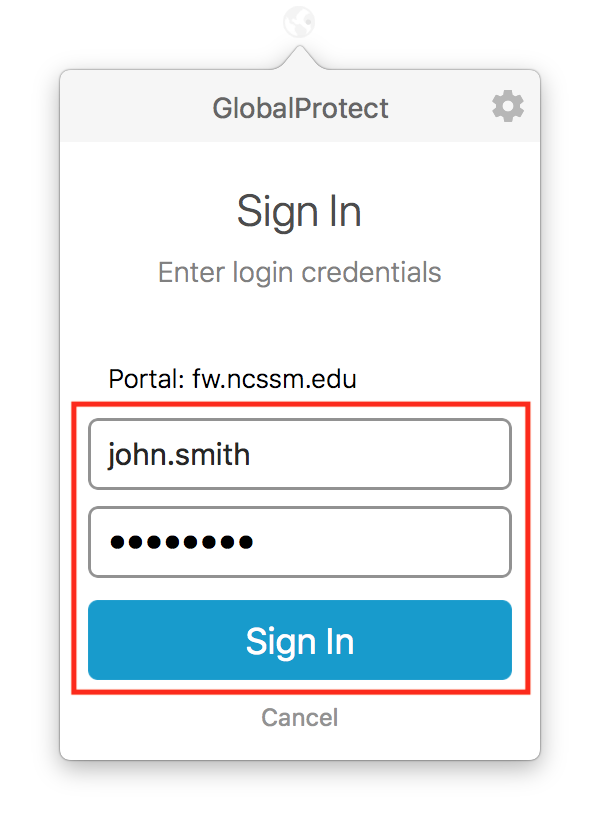
GlobalProtect will say that you are "Connected".

...
Open a terminal and execute the command:
sudo apt-get update && sudo apt-get install vpnc network-manager-vpncNote that it may be necessary to enter your password at the prompt in order to enable root access for the installation.
Once the command completes, launch the network manager by clicking on the Network Manager icon and selecting VPN Connections> Configure VPN … > Add.
Under Connection name, give the VPN connection a name. "NCSSM-vpn" or a variant is appropriate.
On the VPN tab, enter the following values:
Gateway: fw.ncssm.edu
User name: Your NCSSM user name, without prepended “NCSSM\”.
User password: Your NCSSM password. Set the pull-down menu value on the right to Saved unless you wish to enter your password each time you connect to the VPN.
Group name: Test1
Group password: 1test. Again, set the pull-down menu value on the right to Saved unless you wish to enter the group password each time you connect to the VPN.
Ensure that Use hybrid authentication is unchecked.
Click on Advanced…, then enter the following values:
Domain: ncssm
Vendor: Cisco (default)
Version: blank
Encryption method: Secure (default)
NAT traversal: NAT-T when available (default)
IKE DH Group: DH Group 2 (default)
Perfect Forward Secrecy: Server (default)
Local port: 0
Ensure that Disable Dead Peer Detection is unchecked
Click Apply.
On the IPv4 Settings tab:
Ensure that Method is Automatic (VPN).
Click on Routes..., then on the window that opens:
Check Use this connection only for resources on its network.
Enter values in the following table by using the Add button and entering the values in each cell. (Leave the Metric cell blank.) Each cell will have a red background until a legal value is entered, at which point the background will turn green.
Address: 192.154.43.0
Netmask: 255.255.255.0
Gateway: 0.0.0.0
Click OK.
Click Save….
The VPN client is now configured. See below for usage instructions.
...