...
| Info |
|---|
This includes NCSSM-owned machines, and applies to faculty and staff. |
Instructions
Download the following driver from Toshiba for this particular copier model (Toshiba e-STUDIO 5516AC): Download Link (NCSSM login required)
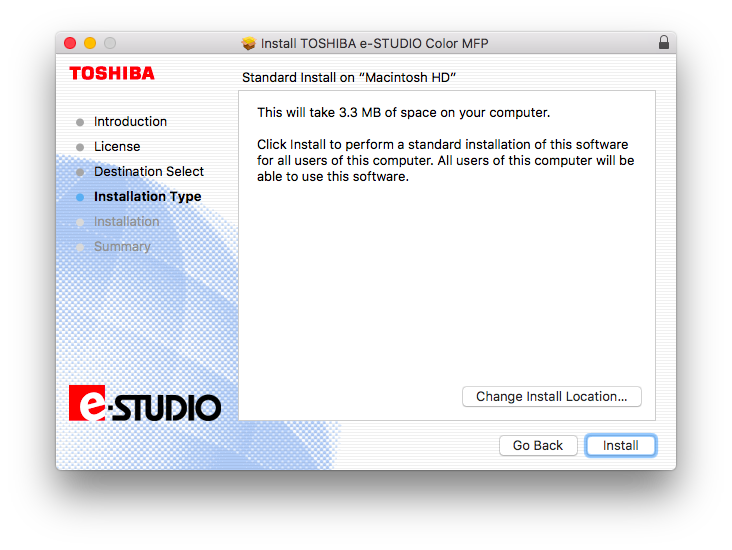
Double-click the downloaded .gz file, the TOSHIBA_ColorMFP.dmg, and then run the TOSHIBA ColorMFP.pkg installer. Complete the installation.
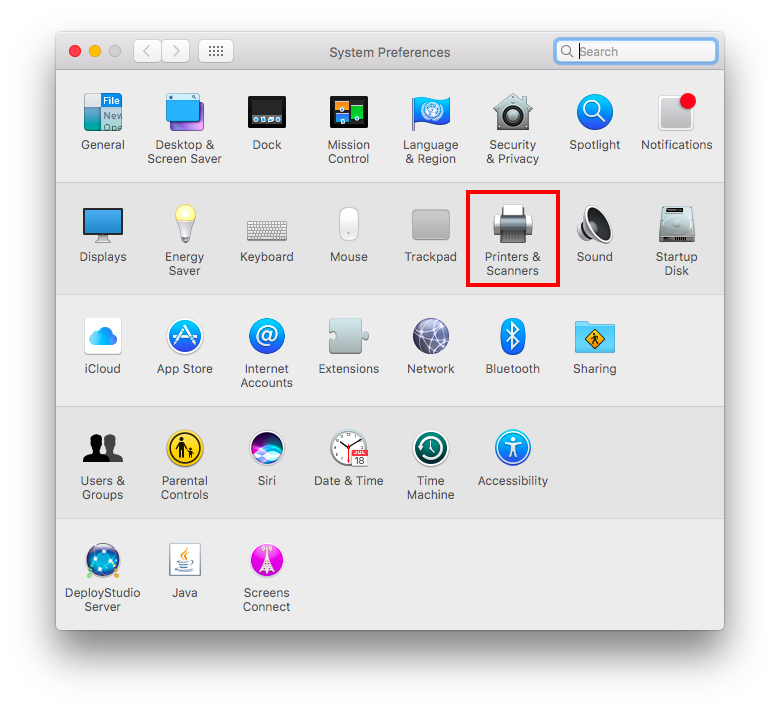
Open System Preferences from the Apple menu or the Dock.
Select Printers & Scanners.
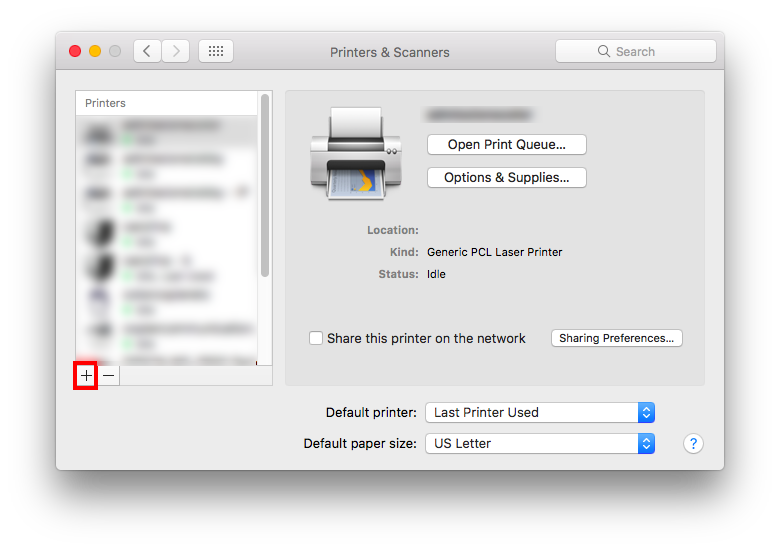
Click the + button to add a copier.
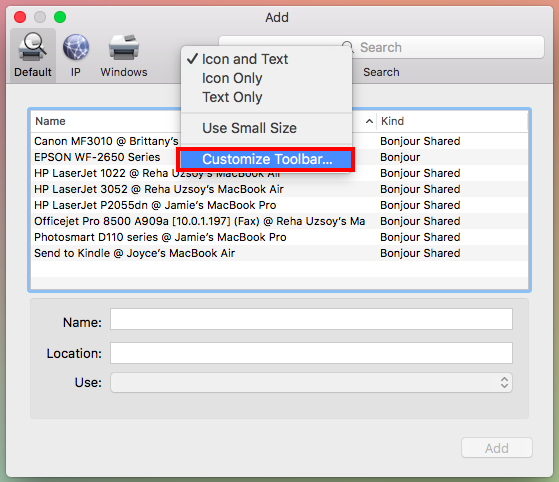
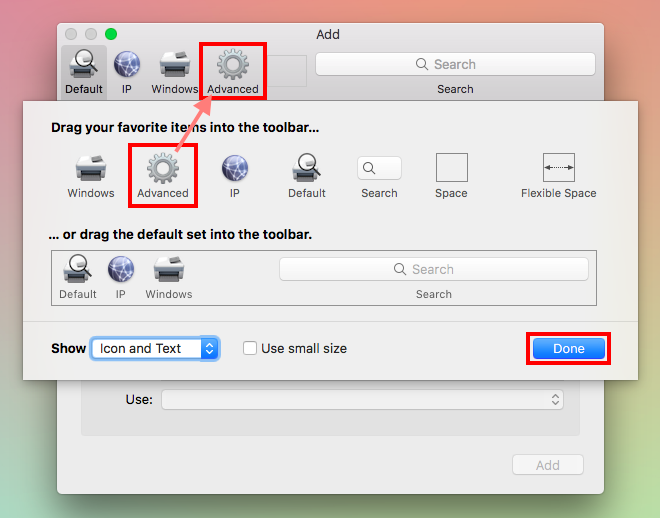
If there is no Advanced button in the toolbar:
Press the Control key on your keyboard while clicking the "Default" icon (or any other icon on the toolbar), then choose Customize Toolbar... from the contextual menu that appears.
Drag the Advanced (gear) icon to the toolbar.
Click Done.
Click the Advanced icon in the toolbar.
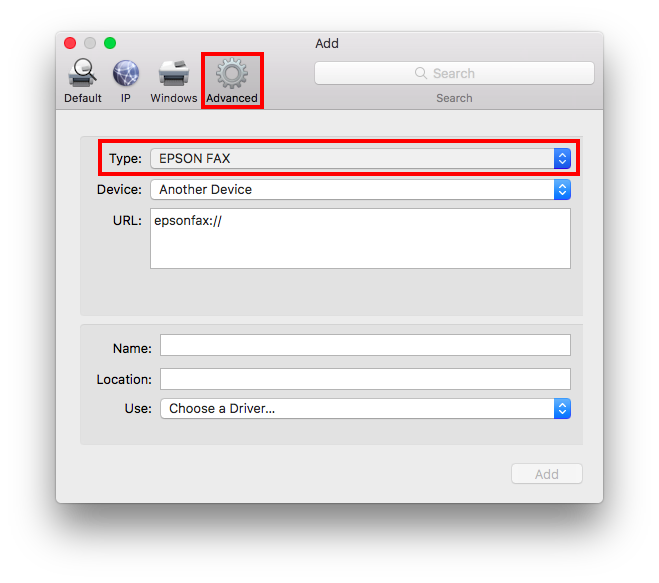
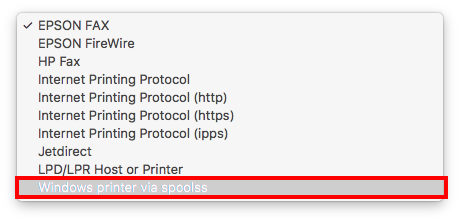
Choose Windows printer via spoolss from the Type pop-up menu.
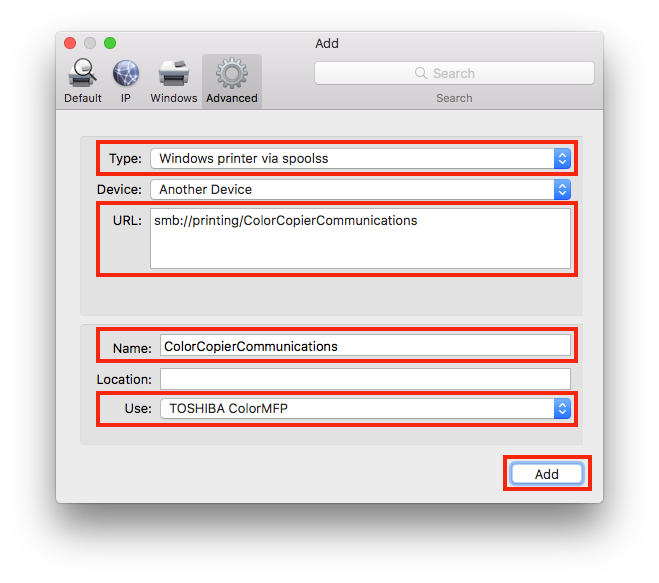
In the URL field, type the copier's address in the following format: smb://
...
durpapercut.ncssm.edu/your_printer_name
These are the names of the color Toshiba copiers:
ColorCopierCommunications
ColorCopierETC
In the Name field, type the name you would like to use for this copier in macOS.
Choose the appropriate copier driver from the "Use:" pop-up menu. This should be called TOSHIBA ColorMFP.
Click Add.
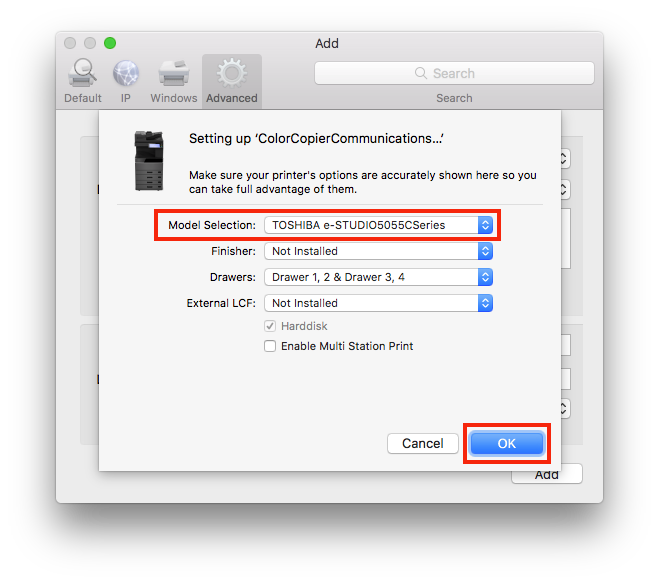
When prompted to select options, pick TOSHIBA eSTUDIO5055CSeries under Model Selection and click OK.
Once you’re ready to print for the first time, you may be asked for credentials to do so.
Your username should include: ncssm\<username>
Your password should be your NCSSM password.
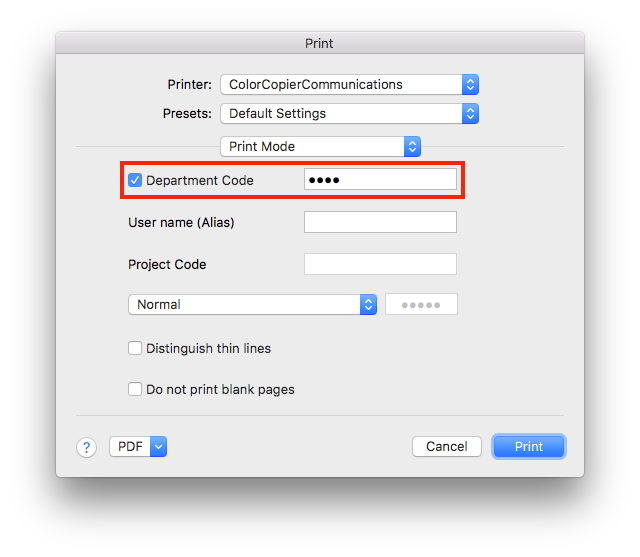
When you are printing for the first time, you will also need to put in your 4-digit print code before you can print. To do this:
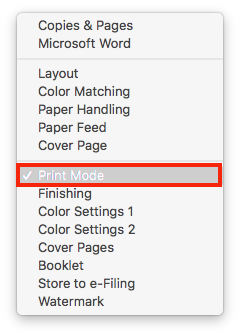
In the center of the Print dialog box, select Print Mode from the drop-down menu.. Note: If you are using Google Chrome to Print, you will need to click Print using system dialog... before you can get to the standard macOS print dialog.
Click on the checkbox for Department Code and put your 4-digit print code in this field.
From the Presets menu, select Save Current Settings as Preset.
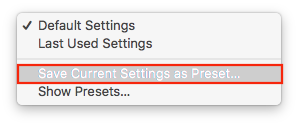
Name the preset, select Only this printer, and click OK.

If you follow these instructions and still cannot connect, please contact ITS.
Related articles
...
.
...
| hidden | true |
|---|
...