...
Instructions for network printer setup
Use the Start menu to search for and then open the Control Panel.
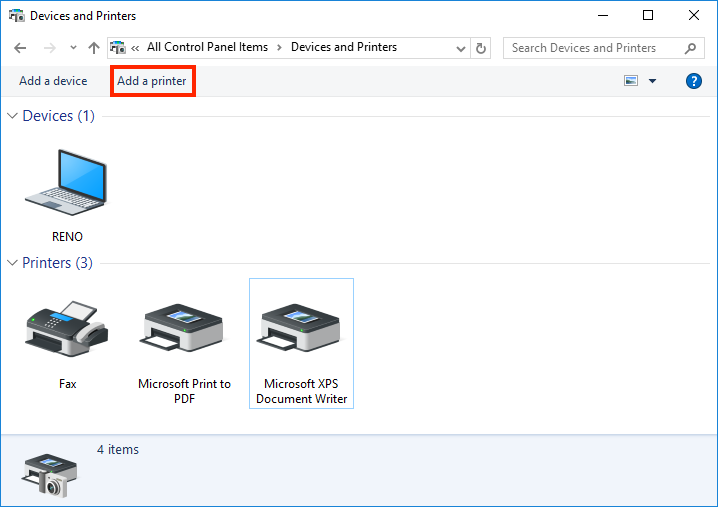
Under "Hardware and Sound", select View devices and printers. If you are viewing the Control Panel by "Large icons" or "Small icons", click on Devices and Printers.
Click Add a printer.
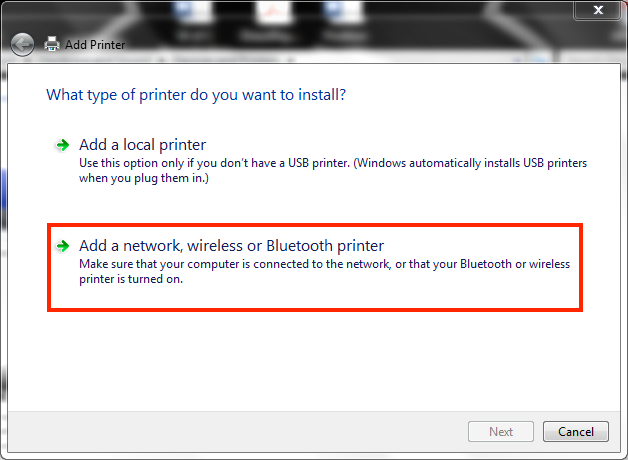
Note: If you get prompted with "What type of printer do you want to install?", select Add a network, wireless or Bluetooth printer.
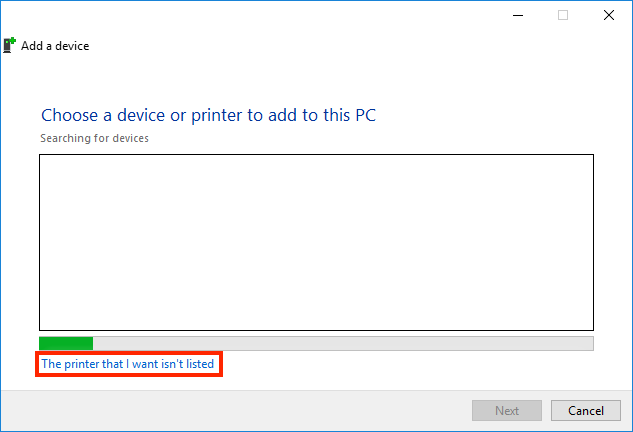
Click The printer that I want isn't listed.
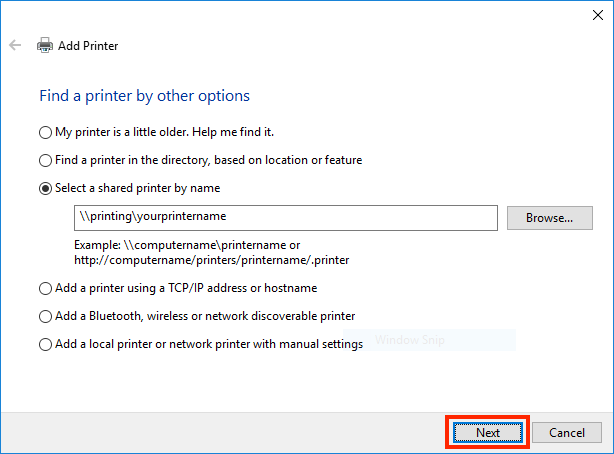
Click on the radio button next to Select a shared printer by name, and click inside the text field.
In the text field, enter: \\durpapercut\
Once you type this, a full list of all network printers should automatically populate.
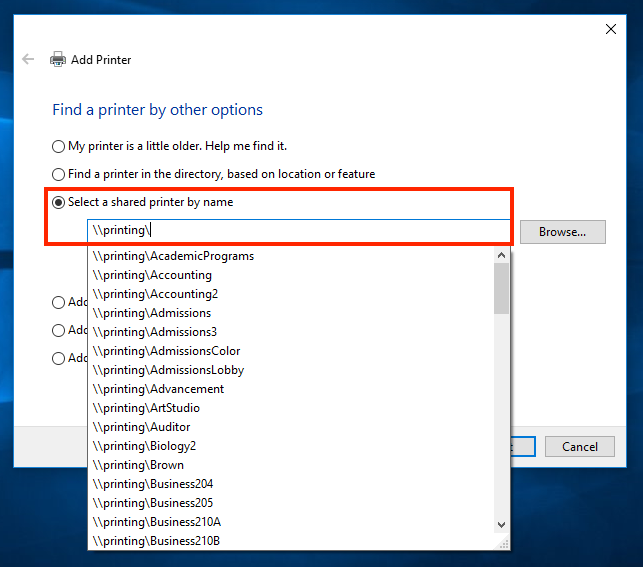
Locate your printer in this list and click the printer.
Click Next.
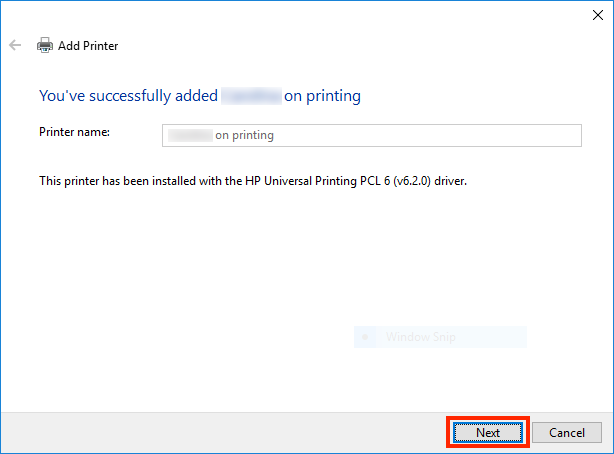
Your PC will proceed to identify the printer and locate, download, and install the appropriate driver. Please note that this may take a few minutes to complete.
You will see a message that says "You've successfully added" the printer.
Click Next.
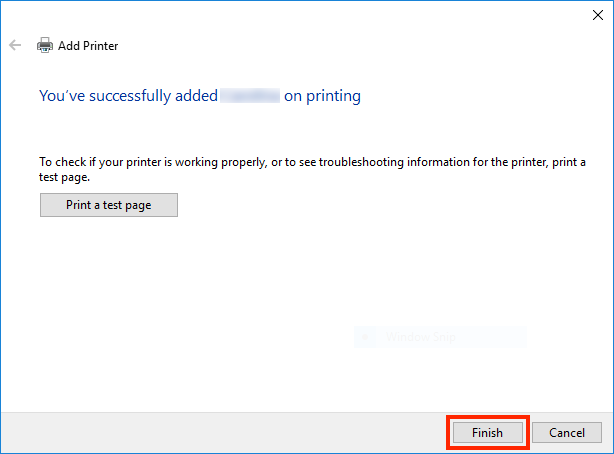
(Optional) You can click Print a test page to make sure the printer is working properly. Note that this will only work on non-copier network printers, due to the code requirement for copiers.
Click Finish.
Adding your print code
Use the Start menu to search for and then open the Control Panel.
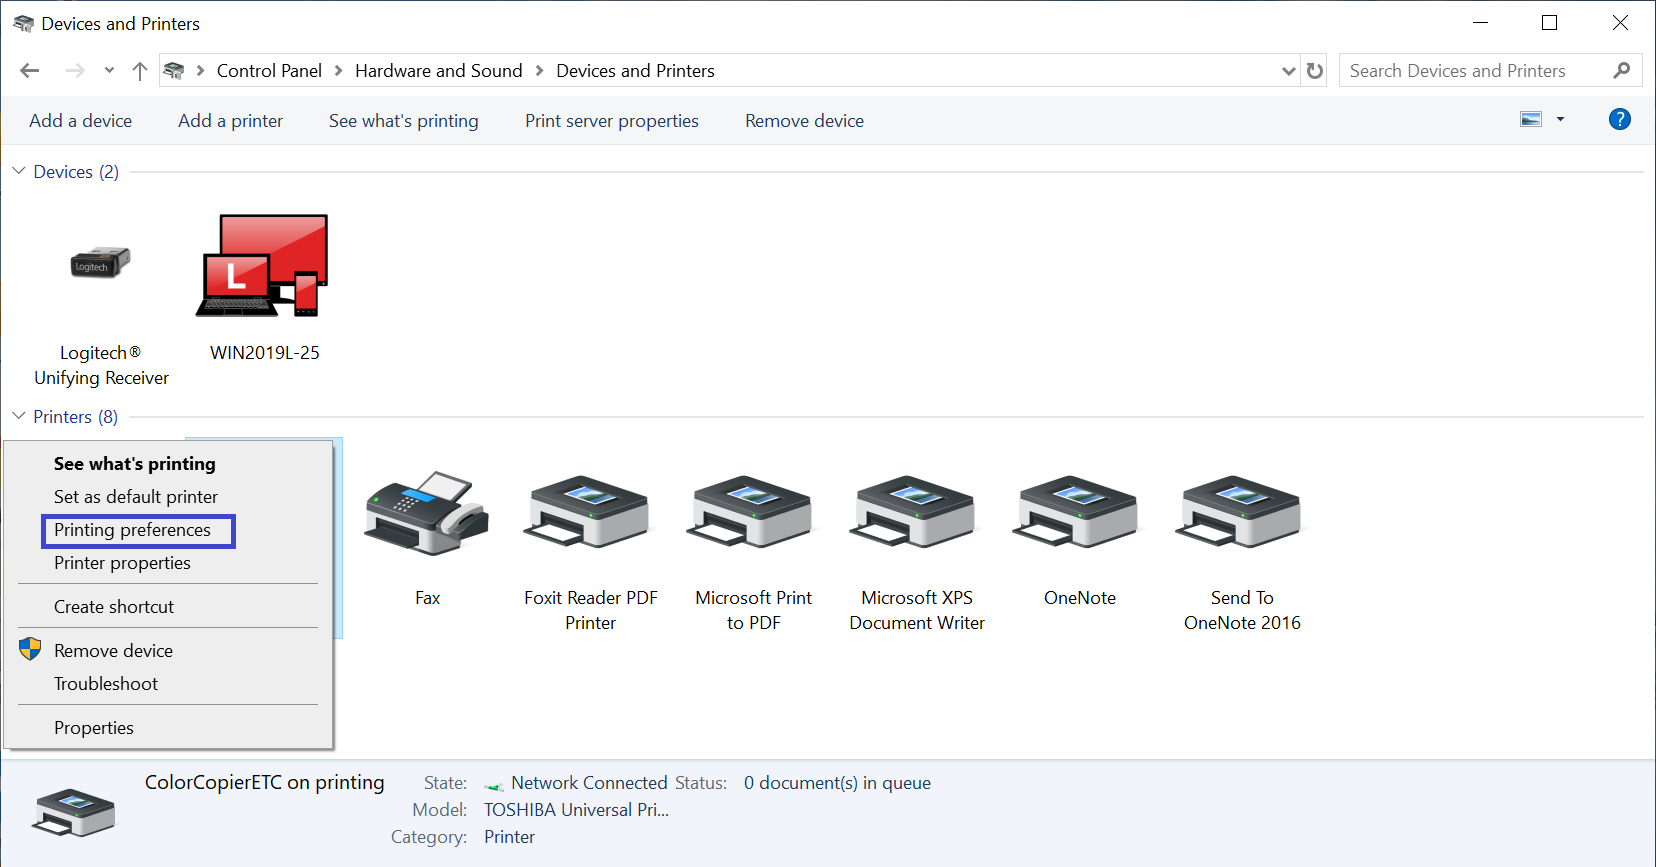
Under "Hardware and Sound", select View devices and printers. If you are viewing the Control Panel by "Large icons" or "Small icons", click on Devices and Printers.
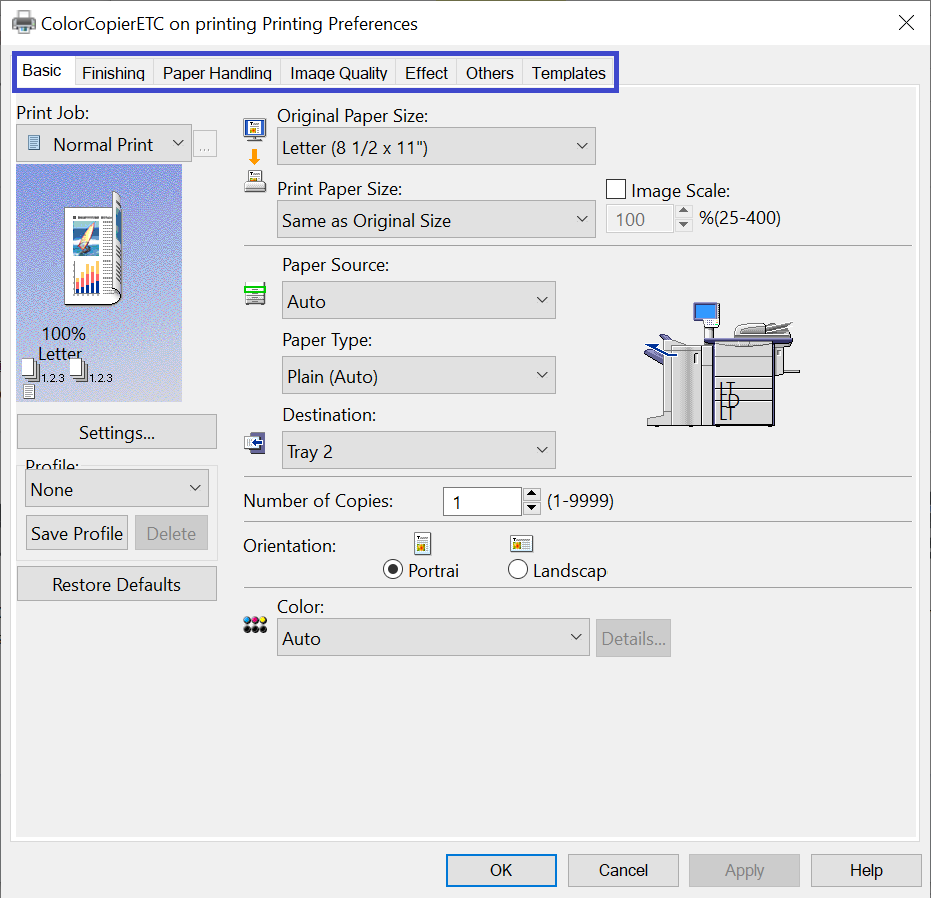
Once you locate the printers, right-click on the desired printer, and select Printer preferences. Note: It may take about 5-10 seconds for the preferences to show up.
Once the preferences show, you will see seven tabs at the top.
Click on the Others tab, which is the second to last option.
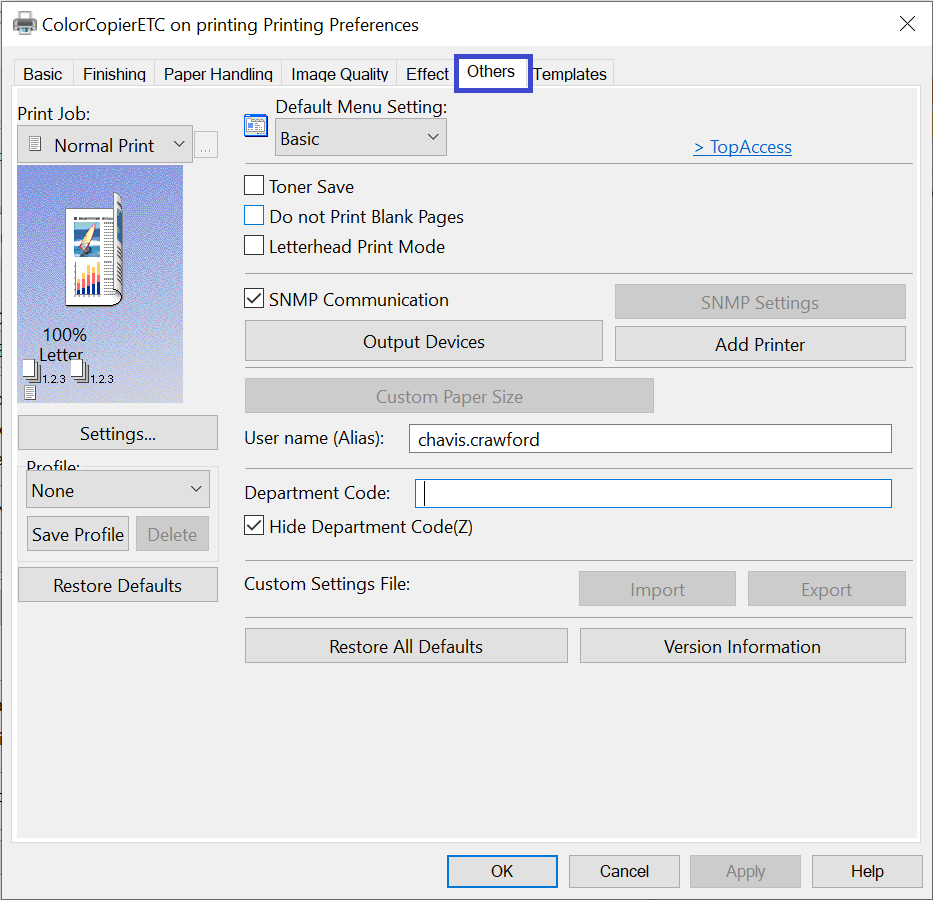
Locate the department code option under User name (Alias). Note: Your username will already be in the text box.
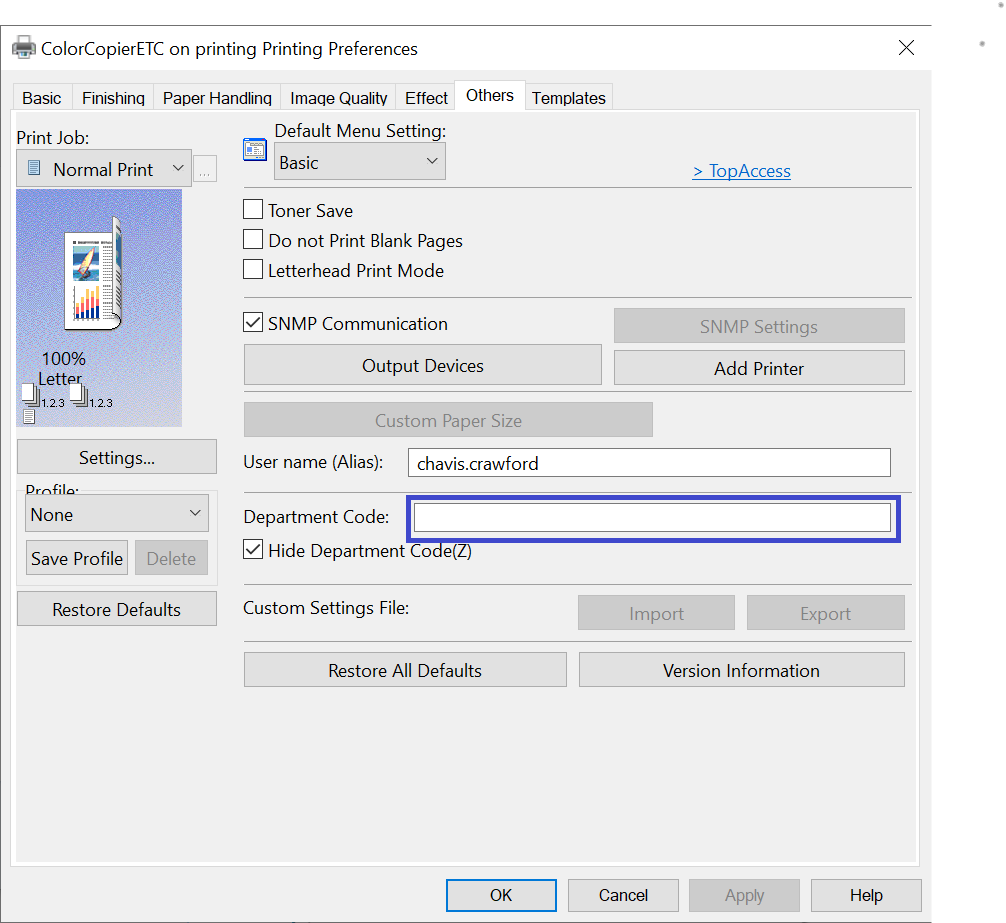
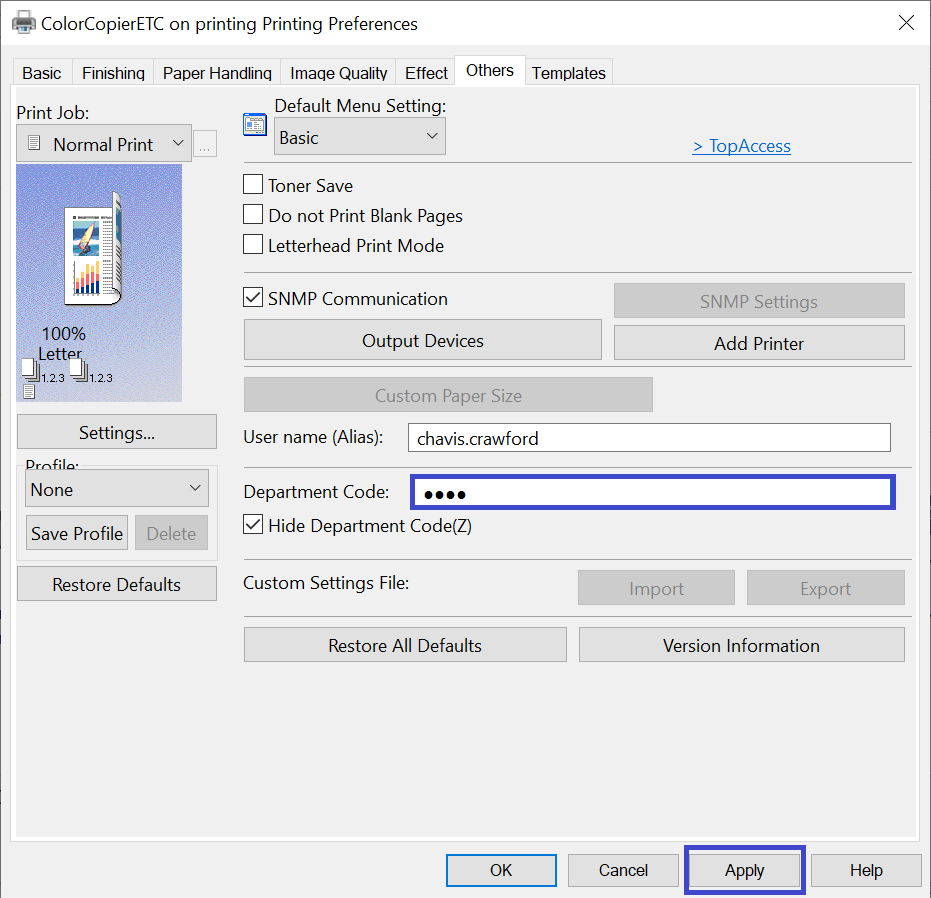
Enter your 4-digit department code, and then click on Apply.
Printing using network printer
Open the file you would like to print.
Choose Print.
Choose the correct network printer.
Your selected file should print correctly.
If you follow these instructions and still cannot connect, please contact ITS.
Related articles
| Filter by label (Content by label) | ||||||||||||||||||
|---|---|---|---|---|---|---|---|---|---|---|---|---|---|---|---|---|---|---|
|
...
| hidden | true |
|---|
...
Related issues