...
Email: MBOX format
Calendar: iCal format
Contacts: vCard , or CSV , or HTML format
Drive files (docs, spreadsheets, slideshows, etc.): Microsoft Office formats and several others
Chrome bookmarks: HTML format
...
(Optional) You may then need to sign into your NCSSM Google account, if you aren't already signed-in.

Select the items you would like to include in the export of your data. In the same vein, deselect any items of the Google services which you prefer not ti to include.
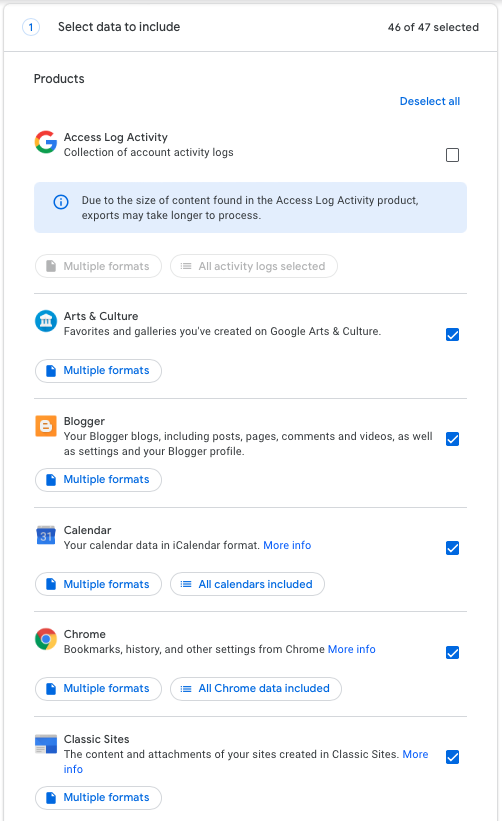

Click on Multiple formats to see the formats that are available to you for export. Also some services have other options for you to view. For example, Chrome allows you to click on All Chrome data included which you will them get to decide if you want to bring over Autofill, Bookmarks, BrowserHistory, Dictionary, Extensions, SearchEngines, SyncSettings.
Once you have finished selecting the items you would like to export, select Next step.

Then you will have the options to choose file type, frequency, and designation.

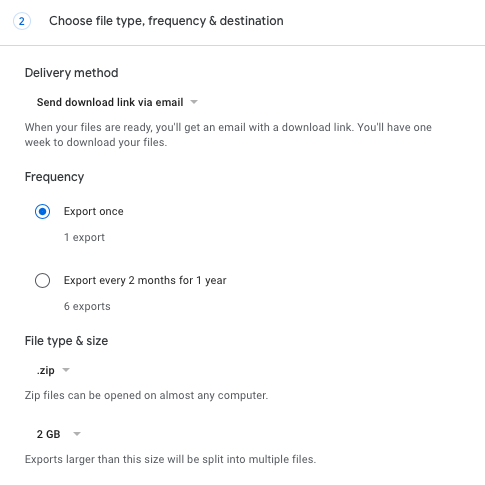
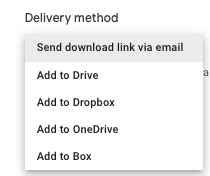
Under Delivery Method you have the follow options to choose from:
Send Download link via email
Add to Drive
Add to Dropbox
Add to OneDrive
Add to Box

Once you have chosen the appropriate delivery meths you will then choose between 2 options for Frequency
Option 1: Export Once
Option 2: Export every 2 months for 1 year

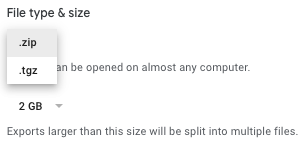
Next, after you have chosen the appropriate frequency you will need to decide on the file type (.zip or .tgz) and size (1GB, 2GB, 4GB, 10GB, 50GB) for the exported file. Most people, particularly Windows and Mac users, will want to select the default .zip option.
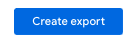
Next, click on Create export
After selecting Create export you will get to view the export in progress
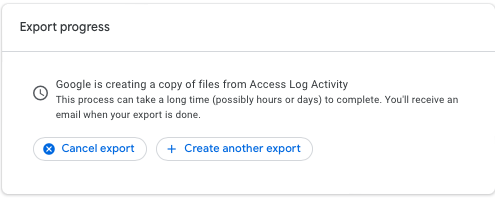
Once it is complete you will get to view and download the content under your exports and Google will also contact you once your export has been created and is ready for you to download or access via the cloud account of your choosing. Once you have the export, you can then transfer the data to the service or application of your choosing.
For any additional questions about exporting your NCSSM Google data, please reference the following Google support article: https://support.google.com/accounts/answer/3024190
...